The JAK Hardwood Installation Process
Crafting Perfection
At JAK Wood Flooring, every detail counts. Our methodical, craft-driven installation process ensures your floor is not only beautiful but built to last. Here’s how we do it:
Steps of Our Installation Process
Step 1: Initial Walkthrough & Planning
We begin with a detailed in-home consultation to assess your space, understand your vision, and answer your questions. You’ll receive a written estimate and a clear overview of the project timeline and next steps.
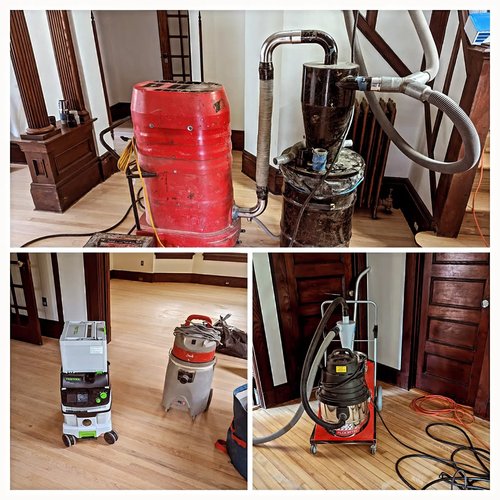
Step 2: Jobsite Protection & Setup
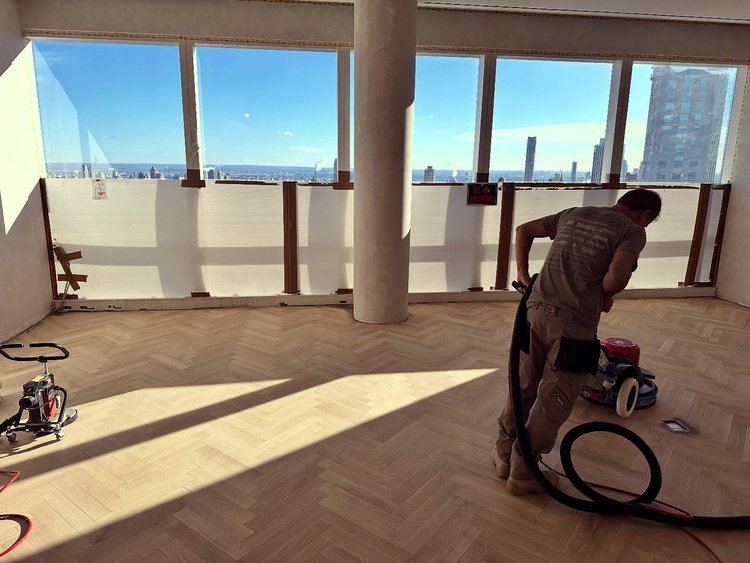
Your home is treated with respect. We protect all traffic areas with drop cloths and plastic sheeting, set up designated cutting zones (outdoors when possible), and work to minimize dust and disruption throughout.

Step 3: Acclimation & Moisture Testing
Wood is a hygroscopic material, meaning it expands or contracts in response to environmental conditions. To ensure proper acclimation, we deliver your hardwood flooring at least two weeks before installation.
During this time, we take detailed moisture readings of the flooring, subfloor, and ambient air, carefully documenting all results. Ideal conditions are 35–55% relative humidity and 60–80°F. Your home’s temperature and humidity determine the equilibrium moisture content—the point at which the wood stabilizes and stops expanding or contracting.
In New Jersey, wood moisture content can vary between 6% and 12%, depending on the environment. Our goal is to acclimate your floors to the most stable moisture level possible, accounting for seasonal changes and humidity fluctuations. This essential step helps prevent issues such as cupping, gapping, and warping down the line.
Step 4: Subfloor Evaluation & Preparation
A flawless floor starts with a stable foundation. We thoroughly inspect your subfloor—whether plywood or concrete—for flatness, moisture content, and structural integrity.
- For wood subfloors, we sand high spots and fill or build up low areas as needed.
- For concrete subfloors, we grind down high spots and apply self-leveling compounds to low areas.
Proper subfloor preparation not only protects your flooring warranty but also ensures lasting performance.

Step 5: Moisture Barriers & Installation Method Selection
We tailor installation methods based on flooring type, plank width, and subfloor material to maximize durability:
- Concrete Subfloors: Two coats of moisture barrier are applied, followed by a full glue-down installation.
- Wood Subfloors (Planks ≤ 3¼”): We use black felt paper with cleats or staples for traditional nail-down installation.
- Wood Subfloors (Planks ≥ 4”): Wide planks receive glue-assist treatment — a moisture barrier and adhesive application, then fastening with cleats or staples — reducing seasonal movement and squeaks.
Glue-assist is standard on wide plank installations to improve stability.
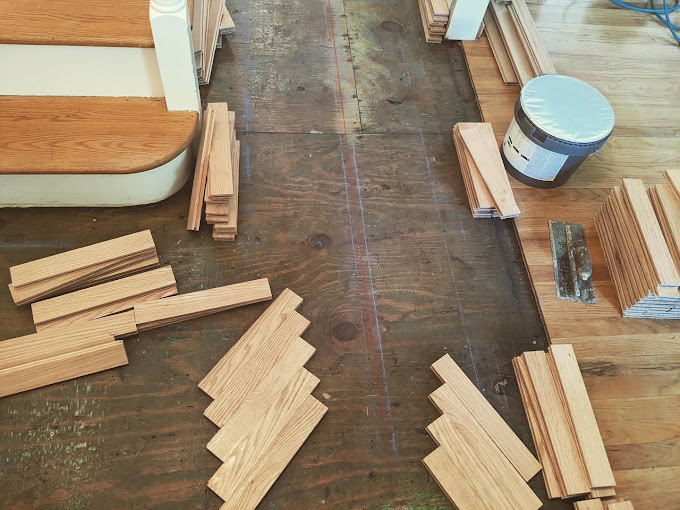
Step 6: Layout & Precision Installation
We square the room, snap chalk lines, lasers, and dry-fit planks to ensure an intentional, flawless layout. Every plank is hand-selected and placed to avoid awkward seams or “H-joints,” with pre-planned transitions and focal points that flow beautifully across rooms.

Step 7: Final Rows & Attention to Detail
For the last rows, we glue planks securely and use finish nails sparingly—only when absolutely necessary—to minimize visible nail holes. Every cut, seam, and transition receives meticulous attention to maintain a polished look.
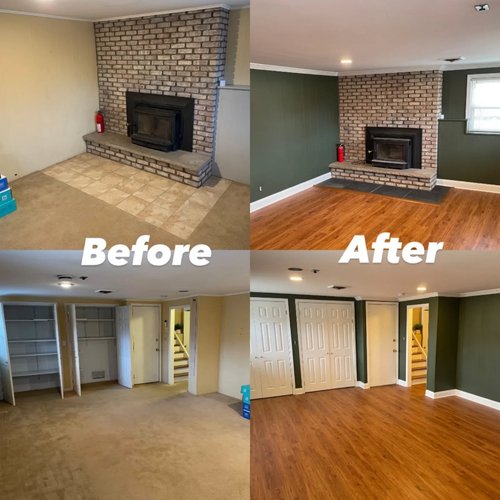
Step 8: Cleanup & Final Walkthrough
We vacuum your new floors, remove all protective coverings and materials, and leave your home spotless. Finally, we walk through the project with you to ensure your complete satisfaction and provide care and maintenance guidance.

What Sets Our Installations Apart
- Laser-accurate layouts: Each room is squared precisely with chalk lines for exact plank placement.
- Intentional plank placement: Avoidance of common pattern flaws by hand-selecting boards.
- Minimal nail holes: We limit surface nailing, especially on end rows, for a clean finish.
- Full moisture documentation: Transparency in quality control through documented moisture readings.
- No guesswork: Every focal point and transition is pre-planned for a cohesive final look.
Serving Wyckoff, Morristown & Northern New Jersey
When you want a floor installed with precision, built to last, and crafted with care — JAK Wood Flooring is the team to call.