
Our Refinishing Process
Crafted with Precision. Delivered with Care.
Every floor we refinish follows a meticulous, proven process designed to protect your home and deliver stunning, long-lasting results.
Home Protection First
We begin by safeguarding your home:
- Drop cloths are placed along all pathways and equipment staging areas.
- Plastic barriers are installed where needed.
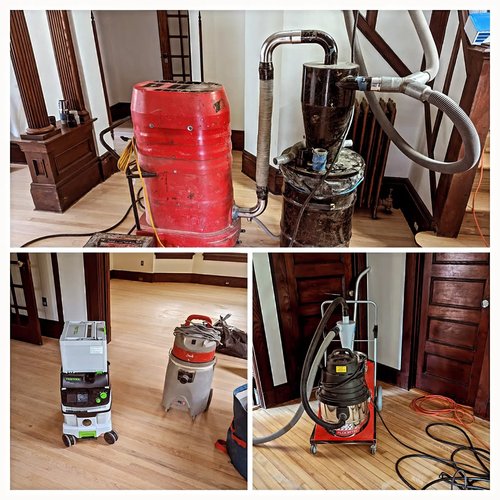
- Our high-powered central dust containment system, along with additional vacuums, is used throughout the job to minimize airborne dust.
Thoughtful Rough Sanding Begins
We begin by safeguarding your home:
- We always start with the highest appropriate grit to preserve as much wood as possible and extend the life of your floors:
- Typically 40 grit on the belt sander, and 60 grit on our variable-speed FG Taifun edger.
- This step removes the old finish, surface scratches, and imperfections while beginning to flatten the floor.
- We vacuum thoroughly between every grit and step to maintain a clean worksite.
Filling Every Imperfection

Row By Row
Once the floor is clean and flat, we go row by row, filling gaps and surface imperfections with wood filler to ensure nothing is overlooked.Sample Creation
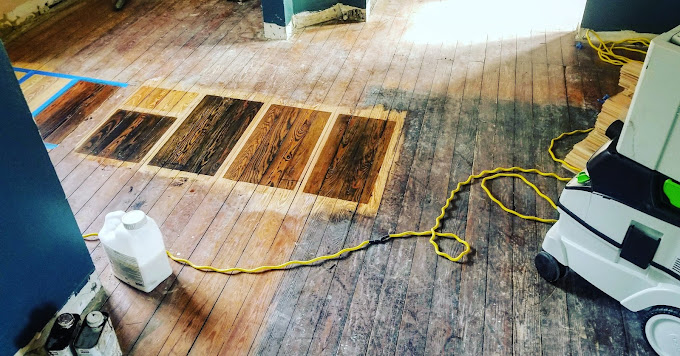
We prepare a designated area of the floor for stain and/or finish samples, allowing you to choose the perfect final look with confidence.
The Art of the Sanding Sequence

This is our medium sanding step, performed with care and precision:
- We never skip more than one grit, allowing for an even scratch pattern and proper surface refinement.
- Typically, 60 grit on the belt sander and 80 grit on the edger.
- This stage removes excess filler and the coarser scratches introduced during the rough sanding phase.
Flattening with Precision
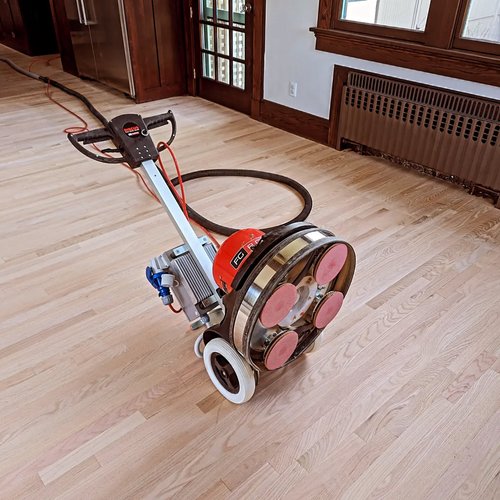
This step begins our fine sanding process and defines our craftsmanship:
- We use our heavy-duty FG Discus planetary sander with 80 grit to refine the surface.
- We work methodically—typically about 4 hours per 1,000 sq. ft.—to ensure flatness across the entire floor.
- The floor is carefully inspected on hands and knees for flawless results.
The Finishing Touches

Every detail matters:
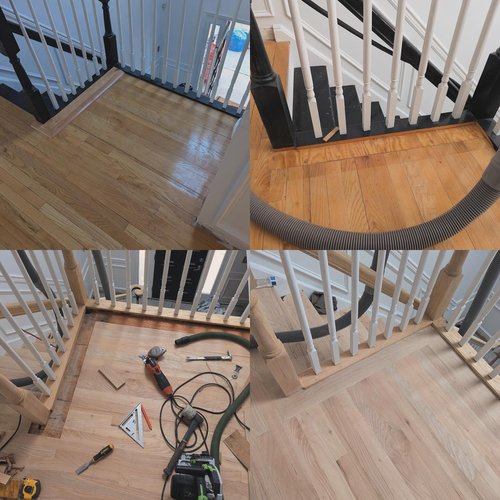
- We hand scrape every corner and palm sand all perimeters.
- Then we complete a final pass with the FG Discus using 120 grit (approx. 2 hours per 1,000 sq. ft.).
- For certain species—especially maple—we sand to a higher grit and use our FG Schwabbel square buffer to refine the scratch pattern.
- For added texture and character, we offer wire brushing with our FG Blitz machine, which beautifully accentuates the wood’s natural grain.
Meticulous Final Cleanup

Before applying any finish, we hand-wipe all surrounding surfaces—including windowsills, doorframes, walls, kitchen counters, cabinets, and adjacent areas—to ensure your home is spotless and cared for.
Ready for Stain or Finish

Your chosen aesthetic, expertly applied:
- If staining, we water-pop the wood to open the grain for even absorption.
- If going natural, we apply a premium water-based polyurethane for a clean, long-lasting finish.
The Final Result
A beautifully refinished wood floor—durable, crafted with care, and designed to enhance your home for years to come.